


Pages
Archives
- March 2014 (1)
- February 2014 (1)
- January 2014 (1)
- October 2013 (1)
- June 2013 (1)
- April 2013 (1)
- March 2013 (1)
- February 2013 (2)
- January 2013 (3)
- December 2012 (1)
- November 2012 (2)
- October 2012 (1)
- September 2012 (1)
- July 2012 (1)
- June 2012 (3)
- May 2012 (3)
- April 2012 (1)
- March 2012 (3)
- February 2012 (1)
- January 2012 (3)
- September 2011 (1)
- June 2011 (1)
- May 2011 (1)
- April 2011 (6)
Blogroll
Category Archives: BLOG
Aldrich Museum
A look at the Aldrich Museum’s “Creative Thinking: Imagination to Innovation” conference. Just found this fine video. my class is the one with the red table tops, and I’m the one saying “unfolding”..(.Why did I come up with that ??)
Comments Off on Aldrich Museum
Drawing magazine has arrived!
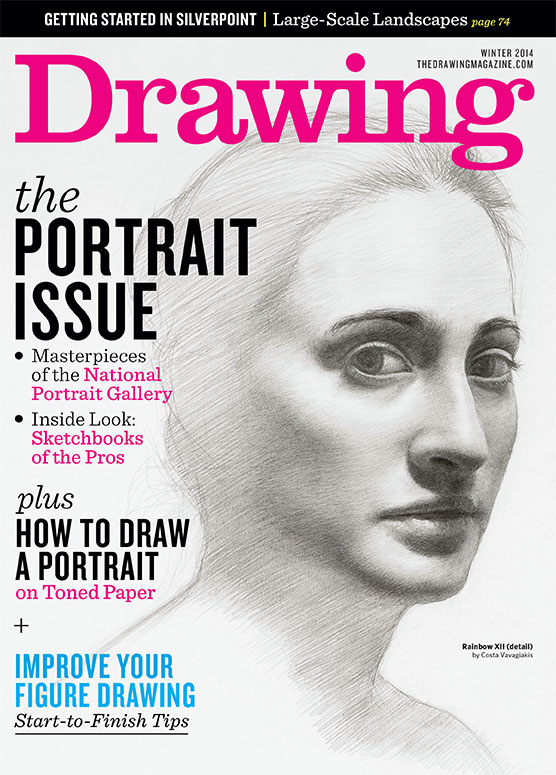
I have an article for beginners on creating 3D in this lovely magazine!
Comments Off on Drawing magazine has arrived!
My book at the Chicago Art Institute Museum Store!

one of my alert students noticed…
Comments Off on My book at the Chicago Art Institute Museum Store!
Drawing for the Absolute and Utter Beginner workshop
Teaching a “draw what you see” workshop for “the absolute and utter beginner” tomorrow , Tues. April 9, at Silvermine School of Art in New Canaan, CT. Looking forward to it!
Just the other day, First Friday at the Aldrich Museum, we were talking about…art, of course. And I mentioned that the eloquence that emerges from adults within hours after they first begin to draw always knocks my socks off, and is also among my favorite artwork anywhere.
Some in our group thought I was referring to the raw honesty found in Grandma Moses/untutored/outsider artists, but not at all. Yes, I love the latter work, but in the drawing workshops such as I’m teaching tomorrow, my job is to help adults acquire the tools they want to make convincing representational work. And I see adults with no previous training able to pick up technique within three hours that allows them to move into polished representational work, art that remains individual, personal, moving, as well as convincing representations of what they see in front of them. An ongoing miracle/privilege.
Comments Off on Drawing for the Absolute and Utter Beginner workshop
Sketching “for the Absolute and Utter Beginner”
Last Saturday at Silvermine, a wonderful bunch of new students came in the studio door for an introduction to sketching. These “absolute and utter beginners” started with scribbling exercises, adding skills until they could sketch a small still life with confidence. We learned that the loose, spontaneous sketched line can create drawings that stand on their own as works of art, and that paradoxically, it’s also is a great tool for adding accuracy to drawings.

students share their sketches on the studio wall
Sketching can form a safety net for a more developed drawing. First, a lightly sketched underdrawing is created to make sure that the subject matter is accurate in proportion, placement, symmetry etc, and then more specific features of the subject matter can be drawn on top of that. Students then add pencil values-gray tones created by scribbling- to fill in the sketch, making it look more dimensional, and closer to the subject matter they’re looking at.

here you can see the pencil value scales upper left. these grays are applied to a sketched framework to create a more representational look to this still life sketch

underneath this still life drawing the student had sketched a light armature to make sure the bottle was symmetrical and vertical before developing it further with pencil values
More information about how to sketch can be found in my book, “Drawing for the Absolute and Utter Beginner” Watson-Guptill, publisher.
Comments Off on Sketching “for the Absolute and Utter Beginner”
More Dimension!

spotlights are used to bring out the shadow contrasts on subject matter
Students are working on canvas board for the first time. To begin that process, the student makes some trial sketches on paper to work out a composition-the balance between the subject matter and surrounding space- before drawing the subject on canvas with charcoal.
As seen above, this student traced the outline of the canvas board onto the newsprint pad before making her trial sketch within it. This helps her to plan her composition for the painting more accurately.
Charcoal is easy to erase and adjust, so the same outline can be maintained while trying out different sketches for a one subject painting. Notice how she has positionned her canvas so she could use her trial sketch as a guide when she began the process of drawing, then painting onto her canvas.

the subject is lit so the form shadow and cast shadow are clearly defined
Since the shadow value structure is key to developing the illusion of spatial dimension when you paint, it’s helpful to make sure the form and cast shadows on your subject are clearly defined. Use artificial lighting to do this. This amounts to making sure you have a clearly marked path in the woods so you won’t get lost!

another model!
Whatever the color of the subject, the role of the shadow values is the same: to make the subject, once replicated on your painted surface, looks dimensional and as though it has weight, gravity acting on it, a resting place.
Form shadows-the ones on the subject- make the object look three dimensional, while cast shadows cue our eyes that the subject is resting on a surface, and has weight.
“Shading” is a general term that students starting the class are already using. It refers to putting shadows in. However, it’s important to identify and learn about the specific shadow value shapes that get us to our painting goal, which in this exercise is the illusion of spatial dimension.

taking a photo of the still life subject
The shadow patterns created by your light source can’t easily be replicated once the lighting is removed (ours have to be changed for the next class). Taking a photo allows you to do that more reliably in the next session, or to work from the photo at home.
Chapter Eight in my book “Painting for the Absolute and Utter Beginner” covers this material in detail.
Comments Off on More Dimension!
Creating Paintings with Dimension


creating the illusion of dimension using gray values
Some people chose to paint the paper towels, others the colored bottles. In each case it’s necessary to focus on the creation of shadow values-those on the subject, called “form shadows”, and those “cast” or thrown onto the resting surface by the subject- in order to bring out the illusion of dimension. Lighting the subject with focused artificial lights creates clear shadow value shapes to work from.

the form shadow goes onto the bottle, and is left to dry before the color goes over top.
Below you see students developing the bottle shape with color. The first layer of red can be intensified by adding another layer of color. The form shadow shows thought the first, somewhat transparant color layer, and can be used as a guide to developing the form shadow further if you want to use thicker paint thoughout the artwork.
Highlights, the smallest, brightest areas of the painting, and accents, the smaller, darkest elements are among the last touches added to the painting.

Above, this student fills in the negative space around the subject matter, and adds lighlights.

students developing their paintings
Paintings are created in layers, starting from generalized, thin layers, and building up toward the images we see in galleries, which represents the final layers. Highlights, detail, and accents- the darker areas, appear in the topmost areas. My book, “Painting for the Absolute and Utter and Utter Beginner” will explainin detail how you can do this.
Comments Off on Creating Paintings with Dimension
Keys to 3D Painting!
Creating the Illusion of Spatial Dimension looks like magic, but really relies on some key ingrediants, among them: applying shadow values. Once students learn how to create form shadows, such as Dawn has done below ( see the black cylinder shapes on the page to her right), the rest of the technical elements involved in this project are very accessible. For more about this exercise, see my book “Painting for the Absolute and Utter Beginner” .


here’s myra working on circles she’s traced, filled in with crescent shadows in black, then overlaid with color

these spheres seem to pop off the page

any color can be applied to the circle once the black form shadow is in place

dana applies black paint in the negative space to set off the spheres
Comments Off on Keys to 3D Painting!
Painting Class Starts!
We start our first class with an introduction to basic painting supplies-brushes,palette, acrylic paints- and how to use them, in order to feel comfortable enough to enjoy the painting process. Students use a color palette limited to black, white, and the choice of one of three complementary color pairs-yellow/purple, or green/red, or blue/orange.(These are the colors sitting across from eachother on the color wheel). Alot of color principles can be learned in just three hours by limiting the color palette in this way. For instance, once you know that mixing complementary color pairs makes beautiful neutrals and grays, you can make them when you want, avoid them when you don’t! There’s no drawing necessary for this exercize, just a simple doodle, and everyone is expert at that! When our doodle project is finished, we make monoprints by pressing water color paper onto the remaining paint on the palette after we’ve worked into that with our brush hairs and handles.

- Neelum and Sumati working

tacey carroll with two of her monoprints
/

- richard and lisa painting

- a small monoprint by richard nichol
Comments Off on Painting Class Starts!